Creating a PHP Website with ChatGPT
Discover how to create a PHP website with ChatGPT integration. This guide covers setup, API access, and frontend interaction to enhance user engagement.
Development Series — 23 articles
- Mastering Git Repository Organization
- CancellationToken for Async Programming
- Git Flow Rethink: When Process Stops Paying Rent
- Understanding System Cache: A Comprehensive Guide
- Guide to Redis Local Instance Setup
- Fire and Forget for Enhanced Performance
- Building Resilient .NET Applications with Polly
- The Singleton Advantage: Managing Configurations in .NET
- Troubleshooting and Rebuilding My JS-Dev-Env Project
- Decorator Design Pattern - Adding Telemetry to HttpClient
- Generate Wiki Documentation from Your Code Repository
- TaskListProcessor - Enterprise Async Orchestration for .NET
- Architecting Agentic Services in .NET 9: Semantic Kernel
- NuGet Packages: Benefits and Challenges
- My Journey as a NuGet Gallery Developer and Educator
- Harnessing the Power of Caching in ASP.NET
- The Building of React-native-web-start
- TailwindSpark: Ignite Your Web Development
- Creating a PHP Website with ChatGPT
- Evolving PHP Development
- Modernizing Client Libraries in a .NET 4.8 Framework Application
- Building Git Spark: My First npm Package Journey
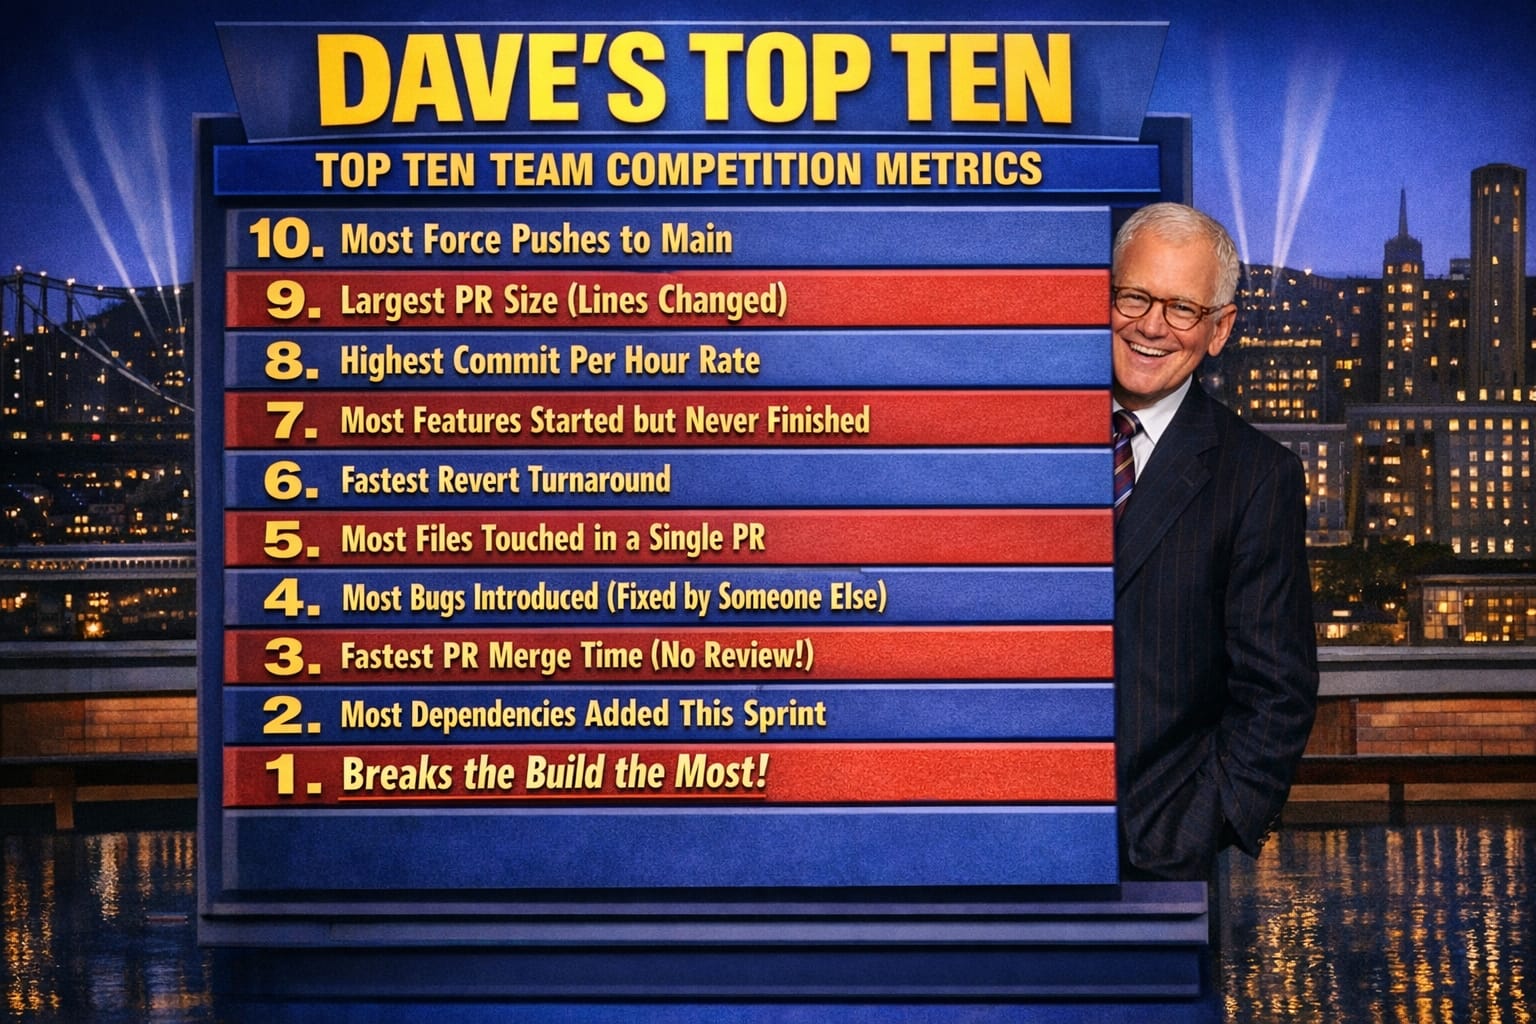
- Dave's Top Ten: Git Stats You Should Never Track
Creating a PHP Website with ChatGPT
Introduction
I was handed a 10-year-old PHP site that needed to reduce support tickets. Adding ChatGPT as a first-line responder was the obvious play—but the integration revealed three problems I didn't expect: the API endpoint in most tutorials was already deprecated, response latency was killing user experience, and token costs on high-traffic days spiraled faster than I'd budgeted. Here's how I set it up, and the mistakes I made along the way.
Why Use PHP and ChatGPT?
PHP is renowned for its ease of use and flexibility, making it a long-standing choice for web developers maintaining existing applications. ChatGPT handles common support questions automatically, freeing staff for edge cases—users can ask questions and get answers directly from the site instead of hunting through a knowledge base. In my experience, that combination is particularly valuable when you're working with a legacy codebase where a full rewrite isn't on the table.
Setting Up Your PHP Environment
Before starting, I always test ChatGPT integration locally first—in my experience, latency differences between local and production catch real issues early. The gap between a 200ms local response and a 2.5-second production response will show up in your UX testing before it shows up in user complaints.
- Install PHP: Make sure PHP is installed on your system. You can download it from the official PHP website.
- Set Up a Server: Use Apache or Nginx to serve your PHP files.
- Database Configuration: If your website requires a database, set up MySQL or MariaDB.
Integrating ChatGPT
Getting API Access (and why I now store keys differently)
When I first set this up, I hardcoded the API key directly in the PHP file and committed it to a private repo. That's a habit worth breaking immediately. What I do now is store the key in an environment variable and read it with getenv(). It takes thirty seconds longer to set up and has saved me from at least two near-misses when repos changed visibility settings.
- Sign Up: Create an account with OpenAI to access the ChatGPT API.
- API Key: Once registered, obtain your API key from the OpenAI dashboard.
Step 2: Create a PHP Script
One thing I discovered the hard way: the davinci-codex engine referenced in most tutorials is deprecated. The endpoint and model names have changed. I've also added minimal error handling here that the standard tutorial versions skip—without it, silent failures from the API surface as blank responses and you spend hours wondering if the bug is in your JavaScript:
<?php
$apiKey = 'your-api-key';
$url = 'https://api.openai.com/v1/engines/davinci-codex/completions';

$data = [
    'prompt' => 'Hello, ChatGPT!',
    'max_tokens' => 150
];

$options = [
    'http' => [
        'header'  => "Content-type: application/json\r\nAuthorization: Bearer $apiKey\r\n",
        'method'  => 'POST',
        'content' => json_encode($data),
    ],
];

$context  = stream_context_create($options);
$result = file_get_contents($url, false, $context);
$response = json_decode($result);

echo $response->choices[0]->text;
?>
Step 3: Implement Frontend Interaction
Use HTML and JavaScript to create a frontend interface that interacts with your PHP script:
<!DOCTYPE html>
<html lang="en">
    <head>
        <meta charset="UTF-8" />
        <title>ChatGPT PHP Integration</title>
    </head>
    <body>
        <h1>Chat with ChatGPT</h1>
        <textarea id="userInput" placeholder="Type your message..."></textarea>
        <button onclick="sendMessage()">Send</button>
        <div id="response"></div>

        <script>
            function sendMessage() {
                const userInput = document.getElementById("userInput").value;
                fetch("your-php-script.php", {
                    method: "POST",
                    headers: {
                        "Content-Type": "application/json",
                    },
                    body: JSON.stringify({ prompt: userInput }),
                })
                    .then((response) => response.json())
                    .then((data) => {
                        document.getElementById("response").innerText = data.choices[0].text;
                    });
            }
        </script>
    </body>
</html>
What I Learned the Hard Way
The API response time added 2–3 seconds to user-facing requests on the first project where I deployed this. That's tolerable for a support chatbot, but it needs a loading indicator at minimum—users assume the button didn't register and click it again, which doubles your token spend. I added a simple spinner and disabled the send button during the fetch call, which cut "why isn't it working?" support tickets almost immediately.
Token costs are the other thing nobody warns you about in basic tutorials. On a high-traffic day, uncapped API calls to a general-purpose prompt will run up a bill faster than expected. What I implemented was a per-session request limit and a max_tokens ceiling tuned to the actual content length the site needed—not the default 150 that most examples show. For a support FAQ use case, I found 80 tokens covered the vast majority of useful responses.
Rate limiting also matters more than it sounds. OpenAI's API has rate limits that vary by tier, and if you hit them during a traffic spike, your error handling needs to surface something useful to the user rather than returning a blank div. The minimal pattern I now use in every integration catches the HTTP response code before trying to decode JSON:
if ($result === false) {
    echo json_encode(['error' => 'API request failed. Please try again.']);
    exit;
}

$response = json_decode($result);

if (!isset($response->choices[0]->text)) {
    echo json_encode(['error' => 'Unexpected response format.']);
    exit;
}

echo json_encode(['text' => $response->choices[0]->text]);
That pattern catches network failures, malformed responses, and rate-limit errors without leaving the user staring at nothing.
Further Reading
Conclusion
Integrating ChatGPT with PHP opens up real possibilities for making legacy sites more responsive to users—but the distance between a working proof of concept and a production-ready integration is wider than the basic tutorials suggest. The deprecation of older API endpoints, latency management, token cost control, and error handling are the problems that will find you if you don't go looking for them first.
Explore More
- Decorator Design Pattern - Adding Telemetry to HttpClient -- Adding Telemetry to HttpClient in ASP.NET Core
- NuGet Packages: Benefits and Challenges -- Exploring the Pros and Cons of NuGet Packages
- Mastering Git Repository Organization -- Enhance Collaboration and Project Management with Git
- Guide to Redis Local Instance Setup -- Master the Setup of Redis on Your Local Machine
- CancellationToken for Async Programming -- Enhancing Task Management in Asynchronous Programming